Convert Artwork to JAN Embroidery File
Introduction
Have you ever found the perfect logo, illustration, or custom artwork and wondered how to turn it into an embroidery-ready design? You're not alone. Many embroidery enthusiasts and business owners face this challenge when preparing designs for machine embroidery.
The process to convert artwork to JAN embroidery file format is more than simply changing a file extension. It involves transforming artwork into a series of stitch instructions that an embroidery machine can understand and sew accurately.
In this guide, you'll learn how artwork conversion works, why digitizing is important, and how to achieve professional embroidery results every time.
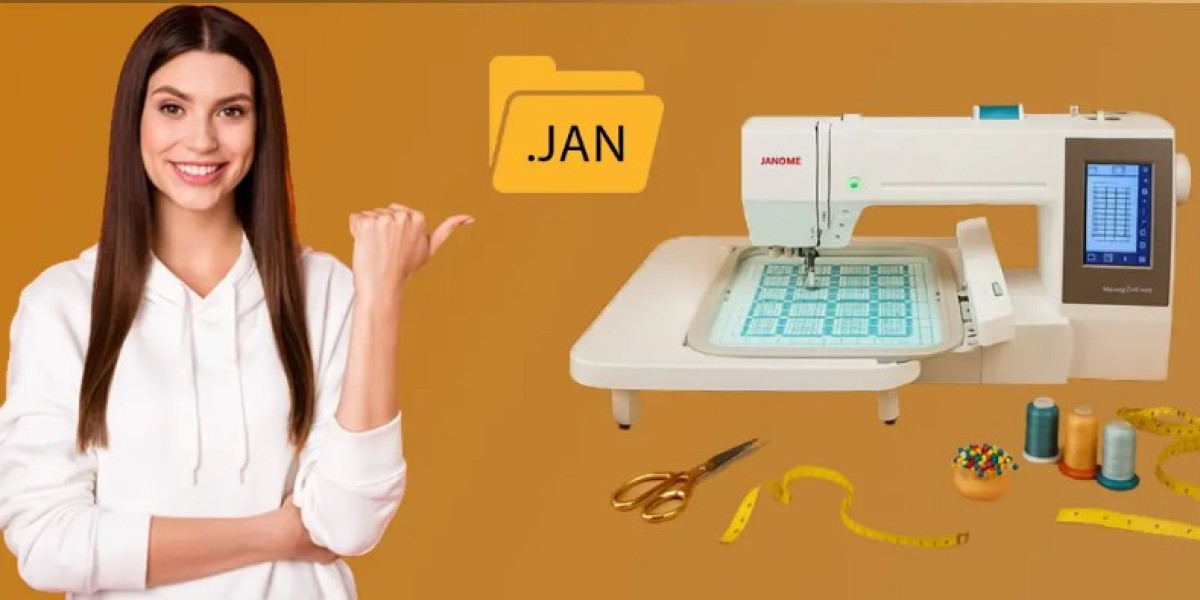
What Is a JAN Embroidery File?
A JAN embroidery file is a machine embroidery format used to store stitch data and sewing instructions. Unlike image files such as JPG, PNG, or SVG, a JAN file contains information that tells an embroidery machine exactly how to stitch a design.
This information includes:
- Stitch locations
- Stitch types
- Color changes
- Stitch direction
- Design dimensions
- Thread trim commands
Think of a JAN file as a blueprint for embroidery. The machine follows every instruction step by step to create the finished design.
Why You Can't Simply Save Artwork as a JAN File
One common misconception is that artwork can be directly converted into an embroidery file with a simple click.
Unfortunately, embroidery doesn't work that way.
Artwork files contain visual information, while embroidery files contain stitch instructions.
For example:
- A PNG file stores pixels.
- An SVG file stores shapes.
- A JAN file stores stitches.
Before artwork can become embroidery-ready, it must go through a process called digitizing.
What Is Embroidery Digitizing?
Digitizing is the process of converting artwork into machine-readable stitch data.
A digitizer analyzes the artwork and determines:
- Stitch types
- Stitch direction
- Stitch density
- Underlay stitches
- Thread path
- Fabric compensation
This process ensures the final embroidery design looks clean and stitches properly on fabric.
At Digitizing Buddy, professional digitizing helps transform artwork into embroidery files that run smoothly and produce high-quality results.
How to Convert Artwork to JAN Embroidery File
Step 1: Choose High-Quality Artwork
The quality of the original image directly affects the embroidery result.
For best results, use:
- Vector artwork
- High-resolution logos
- Clear illustrations
- Sharp text and graphics
Avoid blurry or pixelated images whenever possible.
Step 2: Analyze the Design
Before digitizing begins, evaluate:
- Design complexity
- Small details
- Color count
- Fabric type
- Final embroidery size
Some artwork details may need adjustment to stitch properly.
Step 3: Create Stitch Paths
The digitizer converts artwork elements into embroidery objects.
These may include:
- Satin stitches
- Fill stitches
- Running stitches
Each stitch type serves a specific purpose within the design.
Step 4: Apply Underlay and Compensation
Proper underlay helps stabilize fabric and improves stitch quality.
Compensation settings account for fabric movement during embroidery.
These adjustments help create cleaner, more accurate designs.
Step 5: Export as a JAN File
Once digitizing is complete, the design can be exported as a JAN embroidery file and tested on the embroidery machine.
Common Challenges During Conversion
Converting artwork into embroidery isn't always straightforward.
Tiny Details
Very small elements may not stitch clearly.
Thin Lines
Thin artwork often requires modification to become embroidery-friendly.
Dense Stitching
Too many stitches in a small area can cause thread breaks and puckering.
Poor Artwork Quality
Low-resolution images make digitizing more difficult and less accurate.
Tips for Better Embroidery Conversion Results
To achieve professional-quality embroidery, follow these practical tips:
Use Clean Artwork
The cleaner the artwork, the easier it is to digitize accurately.
Simplify Complex Designs
Removing unnecessary details often improves embroidery quality.
Choose the Correct Size
Designs should be digitized specifically for their intended embroidery dimensions.
Test Stitch Every Design
A sample stitch-out helps identify potential issues before production.
Work with Professional Digitizers
Experienced digitizers understand how stitches behave on different fabrics and garments.
Benefits of Professional JAN File Digitizing
Professional embroidery digitizing offers several advantages.
Better Stitch Quality
Proper stitch sequencing improves the final appearance.
Fewer Machine Issues
Well-digitized files reduce thread breaks and production interruptions.
Improved Fabric Performance
Correct settings help prevent puckering and distortion.
Consistent Results
Professionally digitized files produce reliable embroidery across multiple garments.
Digitizing Buddy focuses on creating embroidery-ready files that help customers achieve smooth production and professional-looking embroidery.
Best Artwork Types for JAN Conversion
Some artwork converts better than others.
Ideal artwork includes:
- Company logos
- Monograms
- Text-based designs
- Sports team graphics
- Promotional artwork
- Simple illustrations
Clean, high-contrast artwork typically produces the best embroidery results.
Mistakes to Avoid When Converting Artwork
Avoid these common mistakes:
- Using low-resolution images.
- Ignoring stitch density limits.
- Skipping test stitching.
- Overlooking fabric type.
- Resizing embroidery files excessively.
Preventing these issues can save time and improve embroidery quality.
Conclusion
Learning how to convert artwork to JAN embroidery file format is an essential part of successful machine embroidery. The process involves much more than changing a file type—it requires careful digitizing, stitch planning, and embroidery expertise.
By starting with quality artwork, understanding the digitizing process, and testing designs before production, you can achieve cleaner stitching and more professional results.
Whether you're creating custom apparel, promotional products, or personalized gifts, a properly digitized JAN file makes all the difference. For embroidery-ready files designed for performance and quality, Digitizing Buddy provides professional digitizing solutions that help bring artwork to life through embroidery.
FAQs
What is a JAN embroidery file?
A JAN embroidery file is a machine-readable embroidery format that contains stitch instructions, thread changes, and sewing paths used by embroidery machines.
Can I directly convert a JPG into a JAN file?
No. A JPG image must first be digitized into stitch data before it can be saved as a JAN embroidery file.
Why is digitizing necessary?
Digitizing converts visual artwork into embroidery instructions that machines can understand and stitch accurately.
What type of artwork works best for embroidery conversion?
High-resolution logos, vector artwork, simple graphics, and clean illustrations typically produce the best embroidery results.
How can I improve embroidery quality after conversion?
Use professional digitizing, test stitch designs before production, choose appropriate stabilizers, and ensure artwork is clean and properly prepared.